Getting Started
Use this guide when you are new to Moltern or helping another user become productive in the workspace.
1. Sign In
Open moltern.com and sign in.
Moltern supports email and password sign-in. Depending on your workspace configuration, the sign-in screen may also show Google and GitHub options.
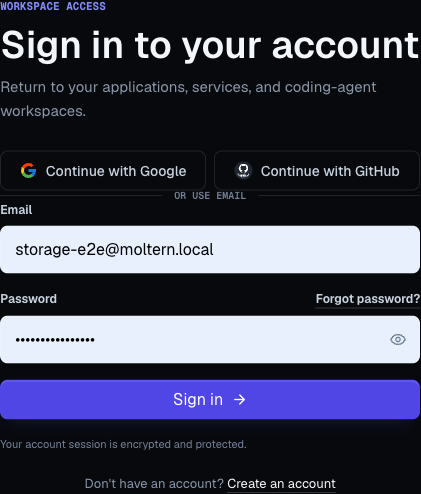
After sign-in, Moltern opens the dashboard for your active organization and workspace.

2. Confirm The Active Organization And Workspace
The sidebar selector shows both the organization and workspace. The dashboard header also includes the active workspace context.
Check this before deploying anything:
- You are in the right workspace.
- The environment you plan to use exists.
- Billing and quota allow the workload you are about to create.
- The workload owner knows where logs and settings live.
3. Learn The Sidebar
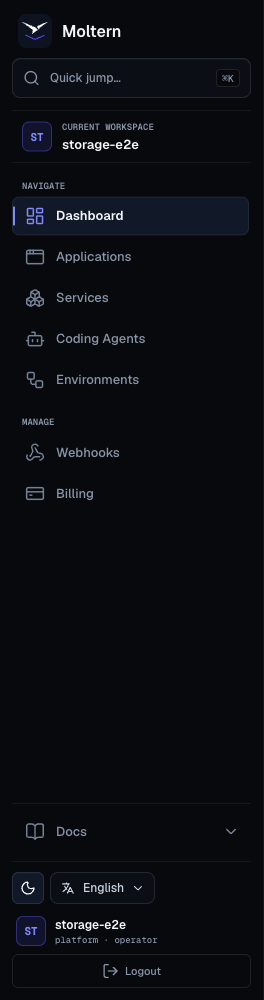
| Sidebar Item | What You Do There |
|---|---|
| Dashboard | Review workspace status, workload status, recent deployments, and quick actions. |
| Organization | Manage authorized workspaces, people, groups, access, security, reviews, approvals, and budgets. |
| Applications | Create and manage Git-backed apps. |
| Services | Browse the service catalog and manage deployed services. |
| Environments | Create environment groups and environments. |
| Docs | Browse in-app per-service documentation. |
| Webhooks | Register external endpoints for deployment events. |
| Billing | Review plan, subscription, quota, usage, storage, and overage settings. |
4. Create Or Confirm An Environment
Moltern deploys workloads into environments. An environment belongs to an environment group.
Typical setup:
| Environment Group | Environments |
|---|---|
| Product | production, staging |
| Internal Tools | production |
| Experiments | dev, preview |
If your workspace is empty:
- Open Environments.
- Create an environment group.
- Open the group.
- Create an environment such as
production.
5. Choose Your First Deployment Path
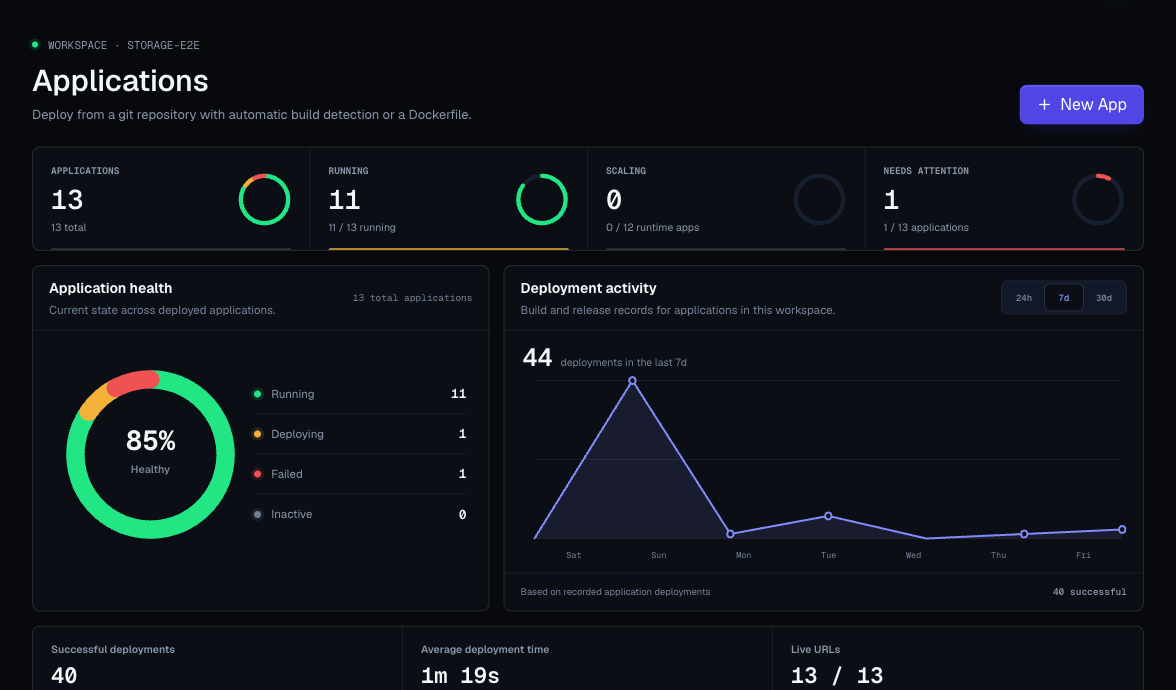
Pick one path:
| Goal | Start Here |
|---|---|
| Deploy code from a repository | Create An Application |
| Deploy PostgreSQL, Redis, n8n, Open WebUI, or another packaged service | Deploy A Catalog Service |
| Build an AI app stack | AI Services And Agent Stacks |
| Connect an existing app to a domain | Domains And Routes |
6. Know Where To Look After Deployment
After creating a workload, Moltern gives you:
- A status badge such as pending, deploying, running, sleeping, stopped, failed, or upgrading.
- Deployment or live logs.
- A generated Moltern URL when the workload exposes a web interface.
- Settings for domains, variables, runtime configuration, storage, and size where supported.
- Billing impact checks before some resize actions.
First-Day Checklist
- Sign in successfully.
- Confirm workspace name.
- Confirm organization name and your available access.
- Create or identify the target environment.
- Deploy one application or catalog service.
- Open the workload detail page.
- Check logs.
- Open the generated Moltern URL.
- Add required variables or credentials.
- Review billing usage after the first deployment.