End-to-End Application Deployment
This walkthrough deploys a Git-backed application from repository selection to a live URL.
Before You Start
Prepare:
- Repository URL or connected GitHub repository.
- Branch.
- Target environment.
- App type: web service or static site.
- Expected build command.
- Expected start command for web services.
- Port for web services.
- Required variables.
1. Open Applications
Open Applications from the sidebar.
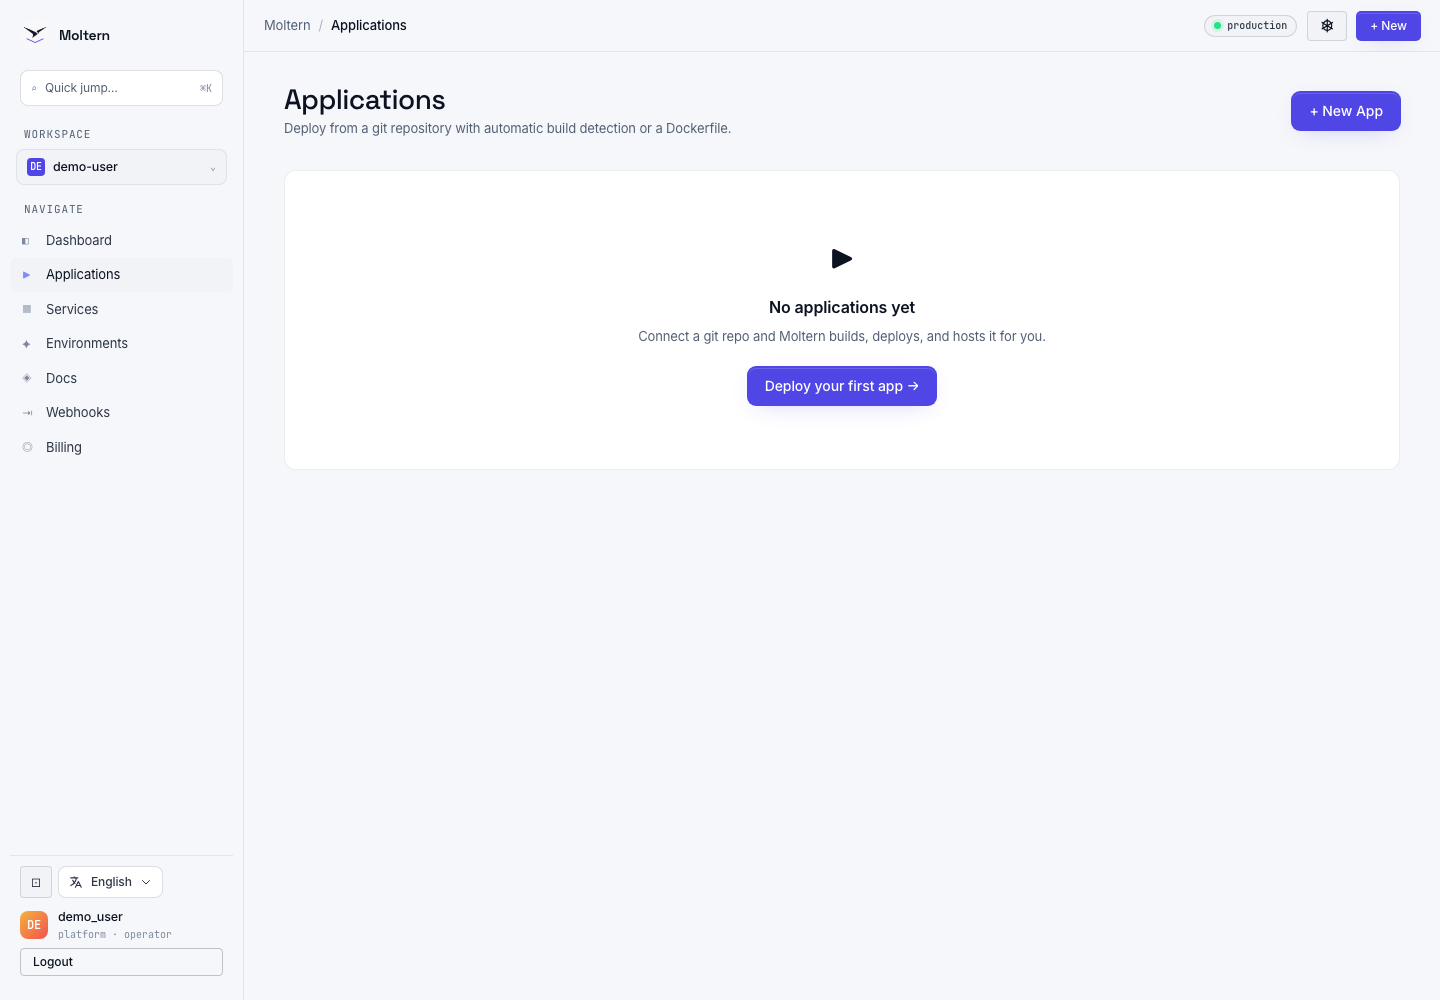
Click New App or Deploy your first app.
2. Choose Repository Access
You have two paths:
| Path | Use It When |
|---|---|
| Connected GitHub repository | The repository is private or you want Moltern to list repositories from a GitHub installation. |
| Manual repository URL | The repository is public, or you want to paste the source URL directly. |
If using GitHub, click the GitHub connection prompt and select only the repositories Moltern should deploy.
3. Select Application Type
Choose:
- Web service when the app runs a server and listens on a port.
- Static site when the build output is static files.
This choice affects available settings later. Web service apps can use runtime port, health checks, replicas, CPU, RAM, and shared filespace. Static site apps can promote previous successful deployments.
4. Set Source And Build Values
Complete:
- Repository.
- Branch.
- Build pack or Dockerfile selection.
- Base directory if the app is not at repository root.
- Install command if auto-detection needs help.
- Build command if auto-detection needs help.
- Start command for web services when needed.
- Port for web services.
Good defaults:
- Leave commands empty when the platform can detect them.
- Pin the port when your app does not use a common default.
- Use a Dockerfile only when your repository intentionally owns the full build.
5. Add Variables
Add required variables before the first deploy when possible.
For applications, variables can be:
- Runtime variables.
- Build-time variables.
Mark a variable as build-time only when the build process needs it. Examples include public frontend configuration or dependency installation credentials. Runtime-only secrets should not be marked as build-time unless the build truly needs them.
6. Create The App
After creation, Moltern opens the application detail page. The app may not be live until you click Deploy app.
7. Deploy
Click Deploy app.
Then watch:
- Deployment status.
- Logs.
- Error hints.
- Generated URL after a successful deployment.
Avoid clicking deploy repeatedly while a deployment is already in progress.
8. Open The URL
When the app is running, open the Moltern URL from the app header or sidebar card.
If it does not load:
- Check the configured port.
- Check the start command.
- Check the health check path.
- Check logs for binding errors or missing variables.
9. Add A Custom Domain
After the generated URL works:
- Open Settings.
- Add the custom domain.
- Copy the records shown in the UI to your domain provider.
- Click Check now.
- Wait until the domain becomes active.
10. Production Checklist
- App is in the correct environment.
- Repository and branch are correct.
- Deployment logs are clean.
- Generated URL works.
- Custom domain is active if needed.
- Runtime variables are saved.
- Sensitive variables are not visible in logs.
- Health check path is valid.
- Resize preview is reviewed before any size change.
- Owner is recorded.